#1 artful thursdays challenge and flower clip tutorial
it all started here with this flower clip and this button:

i have been planning all year for this post...i have imagined how it would look with the photos from all of my artful thursday projects together. i can't quite believe it looking back, it has been a wonderful, artful year. i'm a bit sad it is over as i haven't thought of what to do this year yet...
a huge thank you and congratulations to each of the artists that have participated with me all year. i have enjoyed so much your lovely photos and ideas and especially your encouragement to keep going.
some things i have learned about embarking on a year long creative project:
1. it is a huge commitment that lasts well, a whole year.
2. i felt accountable for showing up and doing just what i said i would. i didn't post every week but i decided that was ok. my goal was to 'pick a project i have been wanting to try or an idea that has been patiently waiting for just the right time and do it' looking back over each of the projects i did do just that.
3. some weeks were wonderful, i had an idea all lined up i was excited about and the photographs tuned out and i got it posted on thursday--best case scenerio. other weeks i was too busy, couldn't figure out what to do, had a messy house that needed cleaning and laundry to do or i just needed a break. these were the weeks i either pulled off something wowie at the last minute, or felt like a flake and didn't post anything. but the key is i moved on to the next week and another thursday.
4. it feels great to have given something of my own to the art community that has so patiently 'raised' me over the years. thank you for your notes and emails about the projects you created after reading my posts.
artful thursdays #14.....zipper purse tutorial

everyone's favorite tutorial was the zipper purses, i just bought 2 bags of vintage metal zippers at the thrift store yesterday...time for me to get sewing :)
artful thursdays #8.....nut cup easter basket tutorial

my favorite tutorial was the little nut cup easter baskets, something about those little chenille chicks get me every time.
but the best thing was the tiny book swap. i still can't believe all the little books that were mailed my way, the look on my mailmans face as he brought them all up to the door, and opening each package up to the surprise inside. i remember how wonderful it felt to auction off 2 complete sets of tiny books in their handmade envelope and sending the money to Haiti right after the terrible earthquake.
well, here they all are starting with the first one last january and my original challenge. i hope you have enjoyed the journey with me. i would love to know which one was your favorite! happy new year wishes, julie
birthday wishes....artful thursdays #2 tiny book tutorial
 vintage tablecloth dishtowel....artful thursday #3 tutorial
 my heart..... artful thursdays #4 valentine envelope tutorial
 love birds....artful thursday #5 paper collage tutorial
 vintage velvet heart.....artful thursday #6 tutorial
 artful thursdays #7......post it note mailing labels tutorial
 artful thursdays #9.....wonderland paper banner tutorial
 artful thursdays #10....paper mache egg tutorial
 artful thursdays #11.....stuffie bunny tutorial
 artful thursdays #12.....a tiny spring nest tutorial
 artful thursdays #13....vintage wrist corsage tutorial
 artful thursdays #15.....party kitty paper doll tutorial
 artful thursdays #16.....paper clay bird tutorial
 artful thursdays #17.....wire bird cage tutorial
 artful thursdays #18.....a little art nesting
 artful thursdays #19....crochet flower tutorial
 artful thursdays #20....framing tutorial
 artful thursdays #21....sewn tag tutorial
 artful thursdays #22....cupcake envelope book tutorial
 artful thursdays #23....emilee the tiny stuffed kitty tutorial
 artful thursdays #24....easy no-sew embroidered button tutorial
 artful thursdays #25....halloween witch tutorial
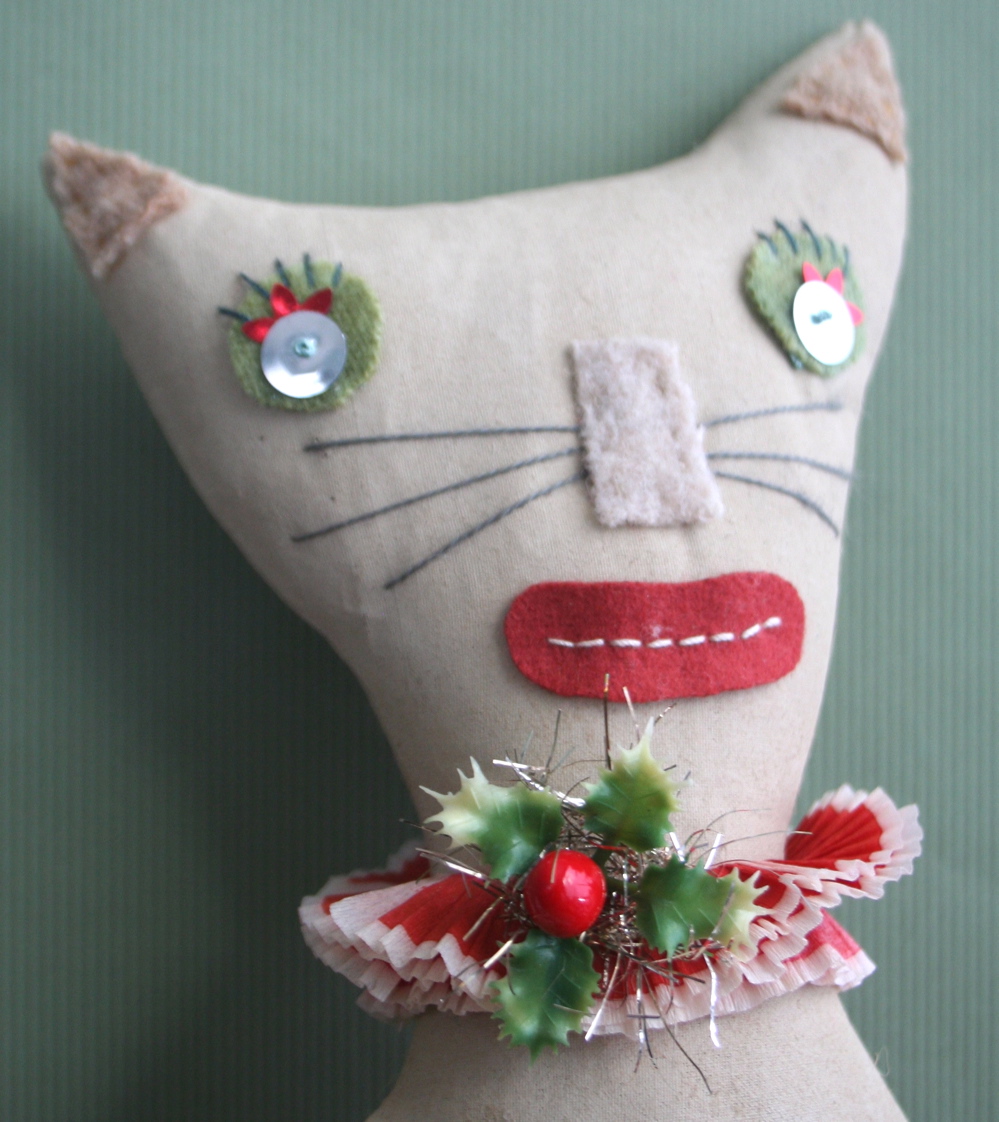
 artful thursdays #26....halloween cat tutorial and adopt dolores...
 artful thursdays #27....bottle brush wreath make-over tutorial