Wednesday, June 27

little spun cotton baby bird...

this week at my art group we are making spun cotton ornaments....
yipee, i have been dying to learn how and our friend Cheryl Burton is going to teach the class.

i have made a few attempts so far but there are so many variables~
what to use for the armature--plain wire, wrapped or coated wire, pipe cleaners
what kind of cotton to use--loose cotton, medical cotton, cotton roving, cotton balls
what to hold it together with--spray starch, liquid starch, watered down glue mixture

barn door pjs with little buttons
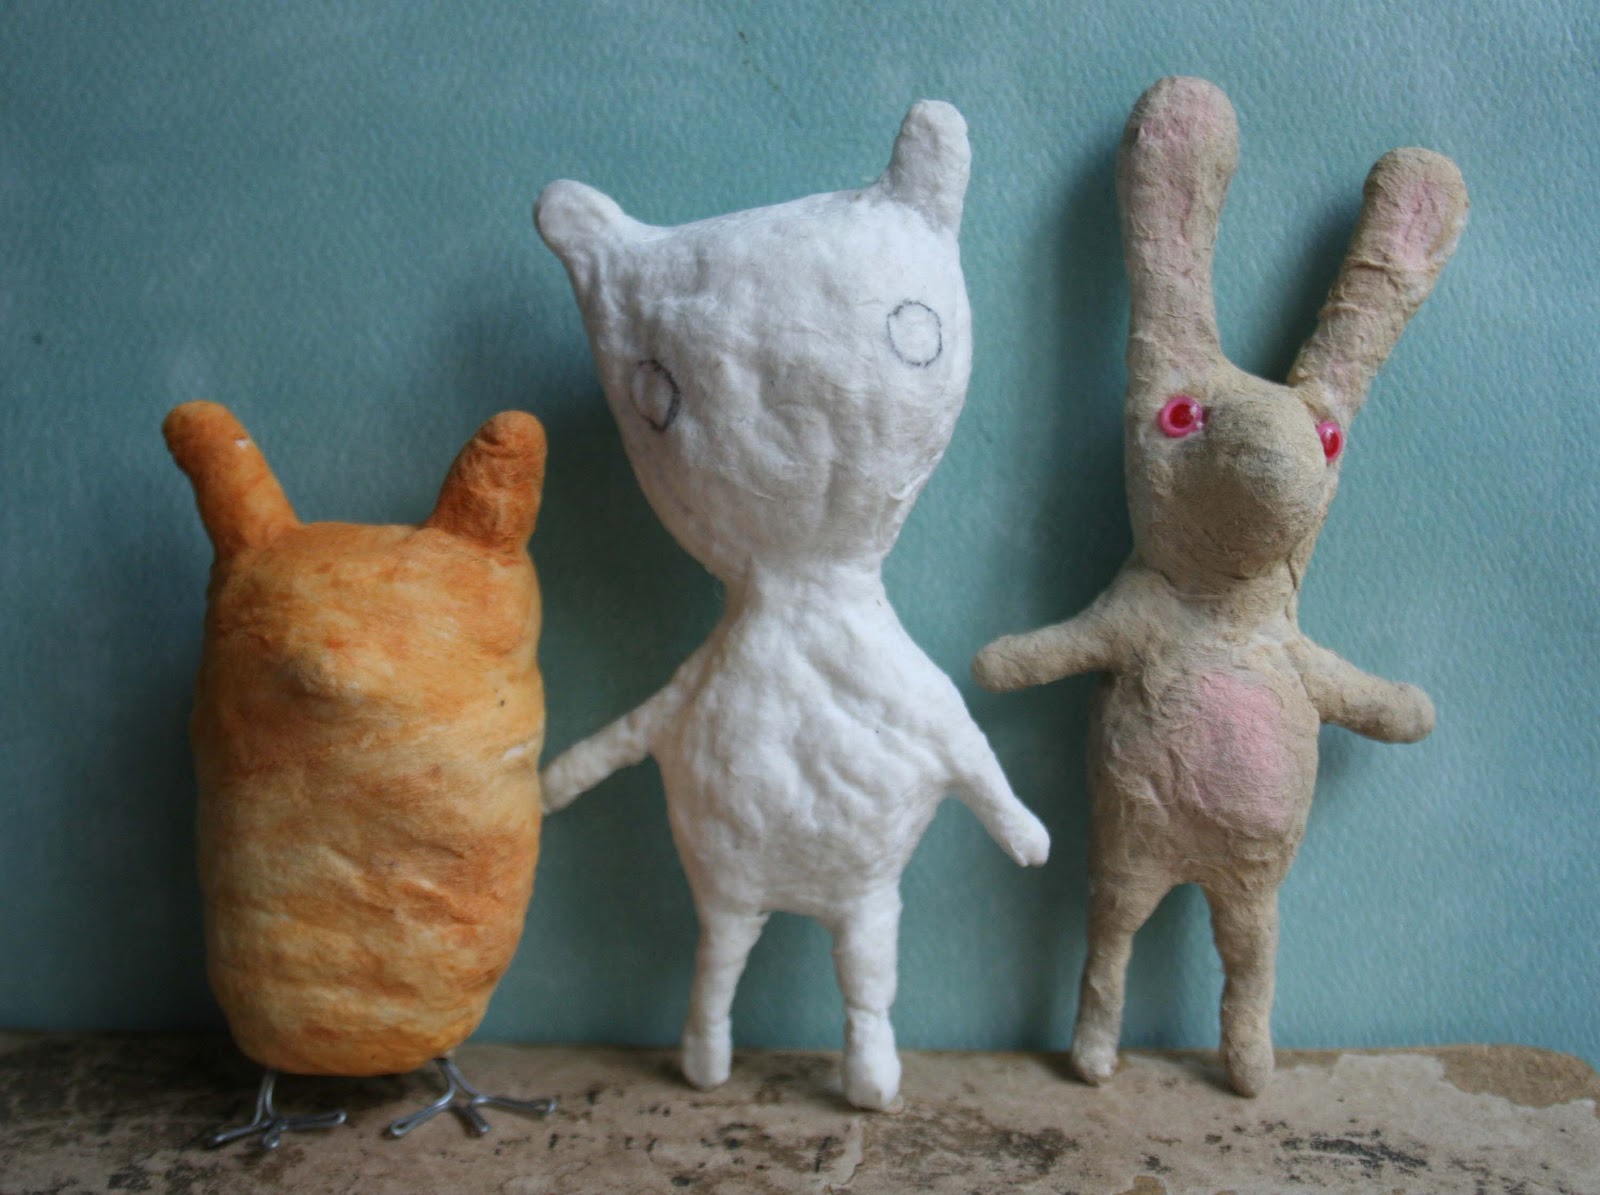
it will be very helpful to learn what really works!  this little guy was just made with cotton balls from Walmart if you can believe it.  he is a bit chunky but i am figuring out a few things as i go.

kitten was a bit harder to photograph as her tail sticks out weird making her so i can't lean her up against the paper.  she is made with a cotton roving and has a much smoother finish.


here are a few figures waiting for paint and decoration.  the bunny has some artificial eyes that might work out, don't know yet.  the bear needs some sort of nose, i'll have to add something on...
and the owl/wild things creature has cool feet but is pretty squishy, not enough cotton for
his figure. 

there is a 2 day drying time i think for the figures so i will be posting next week what we made at art group.

if anyone has any suggestions, ideas, or experience making spun cotton figures please email me, i would LOVE to know!

happy wednesday, julie
                                                                                                        

Thursday, June 21

the wreckage...

i'm having trouble dealing with the wreckage...

i had all my spring and easter projects all loaded up in this silver picnic tote along with my spring paints.  i never got around to painting all the pieces at easter time so they have been just sitting here and there.  it was easy to pick up and move the whole batch with the little cut out handles.

the whole thing was sitting on the end of a table that i tried to drag down the hall.  a corner of the caddy caught the wall and everything fell.  most of the little bunny and chick pots broke, even the ones i had finished.  it looked like plaster carnage all over the floor.  what a mess.


 i am not sure what the moral of this story is yet.  finish what you started, don't leave things lying around, stop trying to drag tables down the hall....

there were a few little pots left mostly undamaged that i am finishing tonight.  maybe that will make me feel better.


Wednesday, June 6

hand dyed embroidery floss tutorial...

i am finally finished with school, my daughter is graduated, and summer has arrived.
welcome june and sitting by the pool, traveling in the car, and enjoying a cool summer evening. what i need is a little traveling sewing kit to tuck in my purse at a moments notice. it all started with this bag of horrible embroidery floss i bought at the thrift store for $3.99. this mess was tucked in an old Bucilla embroidery kit. usually i would just pass on that nightmare but there were a couple of vintage thread skeins in colors i just loved... so i bought the bag and decided before i threw the 'uglies' away i would give them a second chance. warning~ hideous before photo~

i had a bowl of coffee on the counter i was using to dye some fabric pieces so i experimented a bit. a more concentrated coffee or tea will create a deeper color, a watered down mixture gives you just a hint of color.

i use gloves to protect my hands from the dye (bad experience in the past) they actually work really well. i wrapped the floss around my fingers and dipped it in the dye bath. after working the dye in the threads i squeezed out the extra liquid and blotted it with a paper towel. to heat set the dye i placed the floss on a paper towel and microwaved it until it was dry.

check your samples every 20 seconds or so to avoid overcooking them. i really liked almost every color.

the rest of the awful thread mess i just threw in the dye, labels and all. i left that bunch a while to soak. i squeezed out the extra dye and placed in on the counter. the darker colors were mostly unchanged, a few were still so awful i just tossed them out. but surprisingly after i microwaved the rest i was thrilled! biggest surprises were the variegated threads, they will be so fun to sew with. ~after photo~
 all wrapped up pretty and tucked in my traveling sewing kit.


here is one of the pieces i embroidered using a piece of linen for the base, vintage millinery stems, and dyed wool and cotton embroidery threads. a blossom passing fair....
  here we are with our graduate, love to her and happy june all, julie

Sunday, March 18

tiny fabric chicks tutorial....just in time for spring


this darling little chick tutorial is just in time for spring. make a whole little nest from just a few scraps of fabric and a bit of stuffing.

my little chicks are featured on the cover of this new book that came in the mail this week! make me i'm yours...just for fun has 20 little handmade projects inside including my little ipod sweater. both of my projects are from my book pretty little felts. this collaborative project was put together by northlight. love the little size only 7 inches square.


you will need:
cotton fabric scraps, wool felt scraps, black beads for eyes, embroidery floss, stuffing, and any little ribbons or accessories.


step 1.
click on the pattern image and print the pattern. i'm trying something new here, including the pattern right in my post. would love to know if it works for everyone. the chick pattern should be just over 3 inches tall.
cut out cotton and felt pieces. i like to trace the pattern on the wrong side of the cotton fabric and sew right along my lines.


step 2. sew the wings together using s short stitch length. turn the wings right side out and stuff. pin the wing pieces to the body as shown and lay the other body piece on top, pin together.


step 3. sew around the body leaving an opening at the bottom as shown on the pattern.


step 4. turn the body right side out and stuff. sew the opening closed with a needle and thread.

step 5. cut out the felt pieces for the eyes, beak and feet and pin in place until you get the expression you like. sew the eyes, beak and feet in place by hand using one strand of matching embroidery floss and a blanket stitch.


step 6. using a thin needle and strong thread sew tiny black beads on the eyes. finish by adding a tiny ribbon bow or rosebud if you like.

here are some other ideas for inspiration...
a little owlet

and mim the cat designed by my daughter.


hope you all have fun making your little cheepers. send me a photo of your little chicks and i will include it with this post with your link for more ideas.
happy spring day....
julie

Monday, March 12

easter bunnies and chenille chicks....

3 little bunnies for your easter basket....
their names are sophie, josie, and lulu.

made with vintage fabrics, ruffles, and buttons. each has a sweet little hand embroidered face. i have a whole little basket of these so far....

sophie loves chocolate foil eggs, easter parties, and walks in the woods. her sister josie is crazy about carrot souffle, loves to gather flowers in her basket and keeps wishing she wore ballet slippers. lulus favorite thing is to make pink lemonade cupcakes. she loves to decorate easter eggs and hates to sing at parties.

had to show you their little vintage pom tails.


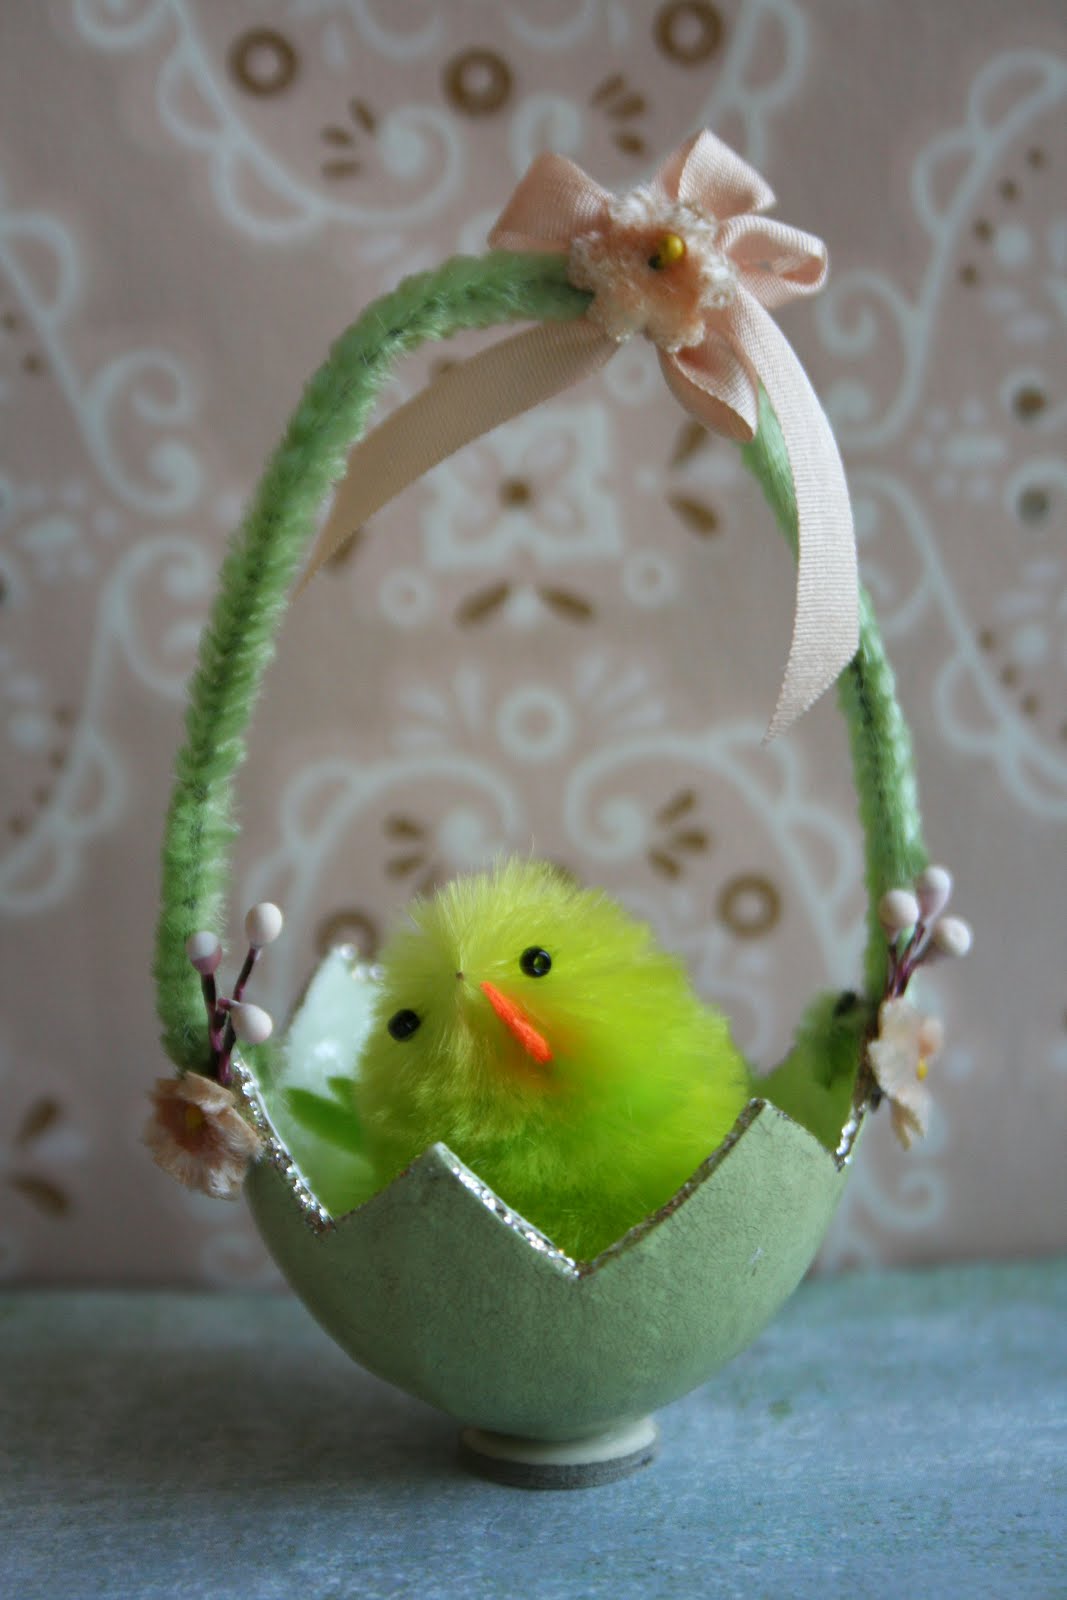
these little chenille chicks swing in their own egg baskets. how sweet is that!
i adore their little crackled eggs and the darling vintage chenille stems and velvet blossoms.


some chenille baskets and paper mache bunny and chick containers are in the works. these two just made it into the photo.


i got an old wooden collapsable drying rack from my grandma and put it to use this week when i spent a whole day dying crepe paper ruffles. love these 5 new colors together, sunflower, summer peach, strawberry pink, bluebird, and mint green.
yummie.


with all the sunshine happening here its a wonder i am getting anything done at all.
hope you had a lovely spring day...
julie

Tuesday, February 14

vintage valentine tutorial


i started making these layered vintage fabric valentines a couple of years ago. i have quite a collection now.

you can see a few of my favorites here:
i started working on this valentine at our art group. they take just a few bits and pieces of old papers and fabrics and a needle and thread.

1. start with a heavy water color paper base. i like to tear the edges. you can either make it flat or so that the card is folded.

2. lay a base coat of paint down in a square like for this valentine cupids arrow
or use a square of a vintage linen piece like i used for this tutorial.


3. begin a loose grid by selecting papers, sheer fabrics and trims and cutting little squares. lay them down on your base and experiment with layering one on top of another until you like the design.


4. add a few pretty bits to each square and sew, glue, or pin them in place. i like to use millinery flowers, ribbon, appliques, tinsel, rhinestones, ruffles, velvet ribbon, sequins, and vintage pins.

here is each little square and what i used:
the first square has a piece of vintage book paper with a layer of sheer flocked polka dot fabric, a vintage cafe curtain. on top of that i sewed a tiny millinery bouquet with floss and tied a silk ribbon around it.


the second square has a piece of vintage pink eyelet lace with an applique on top.
a bit of tinsel is sewn in place for the center. little dark pink stitches are sewn along one side.


the third square has a base of a piece of an old quilt~the back of the piece, a bit of vintage petticoat ruffles and a strip of rhinestones that came from an old costume.


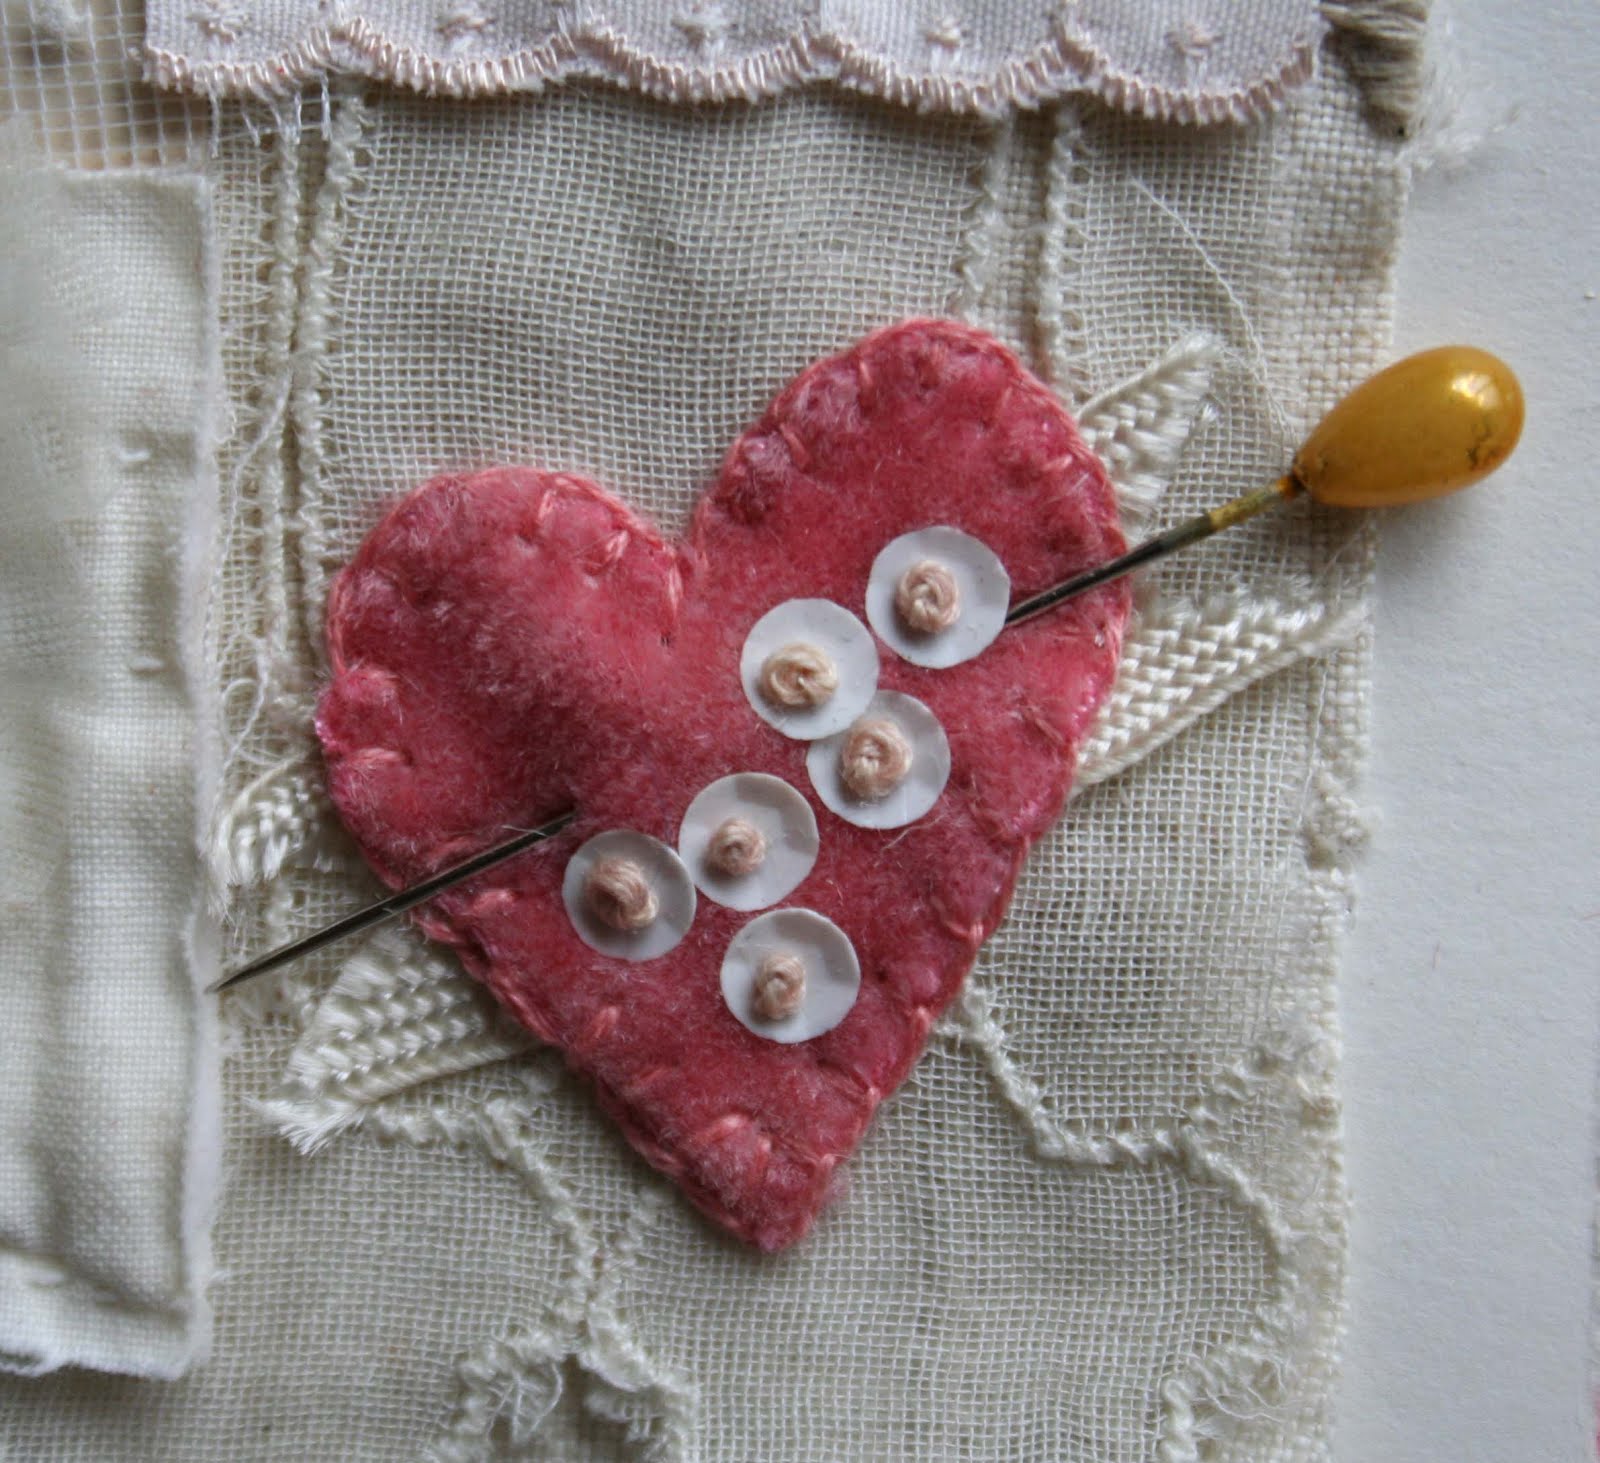
the fourth square has a base of an old dresser scarf, a pink velvet heart cut from a ribbon on an old easter hat, some sequins i took off the applique sewn on with little french knots for each center, a vintage pin and ribbon banner.


so fun and easy to put together especially if you have little collection of bits and pieces you keep together. i like to add things by color or holiday to a zip lock bag so i have them quick and ready to go. this stuff was all in my pink valentine bag...

today i got in the mail this lovely cone from my art friend lorraine.aren't i just the luckiest girl! of course i saved this sweet pink book for just this moment. i have been eating the salted caramels she tucked inside while i have been writing this post, yummmie!


i love how she added the lace piece over the craft paper cone and made this little tulle and lace accent.


she even used one of my posies for the top and added a punched paper sash, how gorgeous.


and just to leave you with a bit more pink that is on my desk and making me happy
here are the new sugared millinery eggs i found


a stack of business cards my niece rachelle made for me. love, and love that spun cotton cattail. hope to get a few more back in my shop, they sold out in 2 days!


and the last photo is of the pink angel i made using one of the dolls by nicole sayre. she is sending you a bit of valentine love...
julie

Related Posts Plugin for WordPress, Blogger...