Thursday, October 20

what happens when you leave all your paints out....


so i left all my paints out on the kitchen table for another day and my family couldn't resist joining me. we stayed up til past midnight all together painting...
it was even a school night! i just couldn't make everyone go to bed...it was too much fun. here is what everyone made~
i made the little owl above. it is hard to see the crackle finish on the darker colors, but i love the eyes.

my husband walked past the table several times before we just handed him a brush and he made this amazing harlequin.


olivia 9~ made this little cat and witch. she can't wait to make some more...


my high school daughter painted the creepy skeleton, isn't it fabulous!


i painted this green man also, love his striped nose.


we weren't ready to quit but i ran out of little pots to dip.
hope you are enjoying a lovely fall evening.
julie

Thursday, October 13

artful thursdays # 28....halloween treat container tutorial


i finally just set up shop on the kitchen table today while the kids were at school to finish these halloween treat containers. you need a big space to get messy and really experiment so i rolled out some paper and turned on the tunes. after the first hour i had a painting emergency and had to call my daughter in north carolina for advice, then went to get a coke. worked like a charm....

it was a blast, haven't had this much fun creating in forever! i am so happy with the results and with every project/mess/experiment i learned a lot. this is a multi day process so get ready.


step 1. plaster dip.
mix up a thin slurry of plaster in a disposable container at least 4 inches deep. (don't even think about washing anything down your sink!) i followed the directions on the box and then thinned with water until i had a nice dipping consistency. dip your peat pots in the plaster and roll around to coat the inside and out. lift out with a wooden chopstick and tip up on wax paper to dry without touching the pot at all. leave these to dry overnight. plan on making a batch at a time, so you can use up your plaster mix.


step 2. paper clay faces.
set up a paper clay working station with a cup of water, a paintbrush,some paper clay, and your dry plaster pots. paint some water on the front of the pot with the paintbrush and start shaping your face. i started with the nose, then added eyes and the mouth last. mold the features with your hands, dip in water constantly to smooth. you don't want to sand much later so use your paintbrush dipped in water to wear down any edges and blend the clay into the plaster so it looks seamless.
let dry over night. your faces can be creepy or fun, think pumpkins, cats, witches, monsters, owls, skeletons, and clowns. the round one is a plastic pumpkin i tried dipping. cool shape but the plaster cracks off really easily :(


you can see from these faces the pots have irregularities, bubbles, weird glops and stuff that dried from the dipping process. just go with it and don't fuss, its a great texture after you add the paint.
step 3. gesso pots.
now you have a collection of little pots with faces just waiting to be painted. get out your acrylic paints, paintbrushes, big nail file, water pot, and dry rag. first take your big nail file (the fake nail ones from the beauty supply work great)and smooth off the rim and any other bad spots. i started by coating the pots inside and out with gesso, black gesso inside and white gesso outside. let dry completely. the paint soaks into the plaster and clay differently that you may expect. it is good to work in stages here so you can gesso all the pots at once and then begin painting.


step 4. paint the little faces.
i squirted out a fun halloween pallet of colors to get started. paint the outside of the pot your main color--i didn't paint the eyes or the mouth. start adding washes of thinned acrylic paint to layer your color. next paint the eyes and mouth. the last thing i did was add the detail to the nose and add the teeth.


step 5. crackle finish.
i decided to crackle finish the outside of my pots. paint a thin layer over the whole thing and let dry. when dry smear a bit of brown acrylic over the finish with your finger and wipe off with a damp cloth. (click on the photo for a close-up of the crackle finish.)


step 6. drill holes and finish.
use a dremmel drill on the slowest setting and drill two holes in either side of your pot for a handle. thread a wired tinsel handle through both sides and crimp on the inside.


pumpkin jack got a crepe paper fringe puff tied on with black and white string.
fill with little halloween treats and goodies and enjoy!
happy halloween wishes,
julie

Thursday, October 6

spooky halloween wishes....


we go straight from summer weather to fall in one day here, it dropped 20 degrees last night. definitely feeling like fall around here with a wet snow coming down outside!
i am so excited about october and halloween. i made this little spooky card today to send with my halloween packages. the old owl is a vintage dennison seal i found.
i have started a messy project/experiment that i hope to finish this week. i bought these great paper mache halloween treat containers and wanted to try making a smaller version.


i started with small peat pot containers i had left over and dipped them in a thin plaster mixture. here they are drying and waiting for a coat of paint.
i think i will add some paper clay to the faces to add some noses and other features.

i had in mind to use this copper and black wired tinsel for the handles.


if all goes well i will post a tutorial how to make your own.
happy fall day, julie

Tuesday, September 6

no more excuses!


it has been months since i posted on my blog. a family crisis just swept away any time available for blogging. i am back on my feet again, my family is doing well, and i have a new computer that is whiz-bang lighting fast loading images. i even have photoshop on the new pc. it was hard to bid goodbye to my old mac, but now i find i have no more excuses....

except so much has happened in the past couple of months i don't know where to start again. all my bookmarks from the old computer are gone so it took me 15 minutes to figure out how to sign in to my dashboard again, i thought maybe i had lost my blog for a panicky minute. here goes the test post. still collecting little dennison treasures. these little sewing boxes had the sweetest designs. mostly empty except for these little spools of thread. they would make the cutest traveling sewing kits wouldn't they...


a few more turquoise and yellow treasures i have gathered...
1950's yellow buttons for a house dress


the earings i would wear if i were hosting a bbq this afternoon serving roasted corn on the cob.

the only turquoise bordered dennison labels i have ever found, bright and fun.


sunny yellow daffodil crepe paper ruffles. so cheerful and summery, i feel like i have to hold on to the last few days of summer weather here. i can feel fall coming with its warm afternoon light and cool evening breezes.


and the little trailer from 'Oh so Lovely Vintage' i have been dreaming about ever since i saw it...
maybe one last little trip before autumn.


enjoy, julie

Wednesday, April 20

a little etsy love givaway....


this week i made an all pink kit easter decorating kit as a special request and just LOVE how it turned out!

if you find yourself still wanting one of these little easter basket decorating kits, i made one especially for jolly goode gal to celebrate jerusalem greer's big anniversary. head on over to enter the give away and win this kit!


here are a few other spring surprises i have been keeping up my sleeve...
frosted spring sugar stamens


vintage pastel eyelet trims with a sweet little bouquet.


sweet vintage cafe curtain ruffles. sewing the little blossom medallions was my favorite part. vintage dennison paper labels, wallpaper, and tiny flocked flowers, easy and so pretty.


cherry blossom stamens


and the last one, this little wool felt egg with a bunny tucked inside. happy spring, julie

Monday, April 11

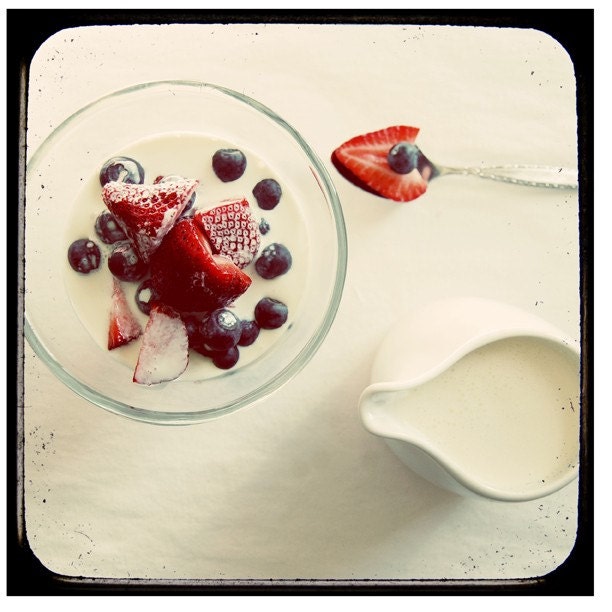
strawberries and cherries

probably don't view this collection before breakfast...

i love it when i get a little note that one of my items has been featured in an etsy treasury. i just adore this one! you can even click on the images and go right to the item in the sellers shop. and i am kind of excited i figured out how to put it up on my blog. i have a whole week off from school for spring break and there is some sun outside my window today instead of snow. happy day, julie

'Strawberries and Cherries ' by ParisPhotographer


Luscious Fruits Pho...
$39.00

tis the season - 8x...
$25.00

Strawberry and Vani...
$20.00

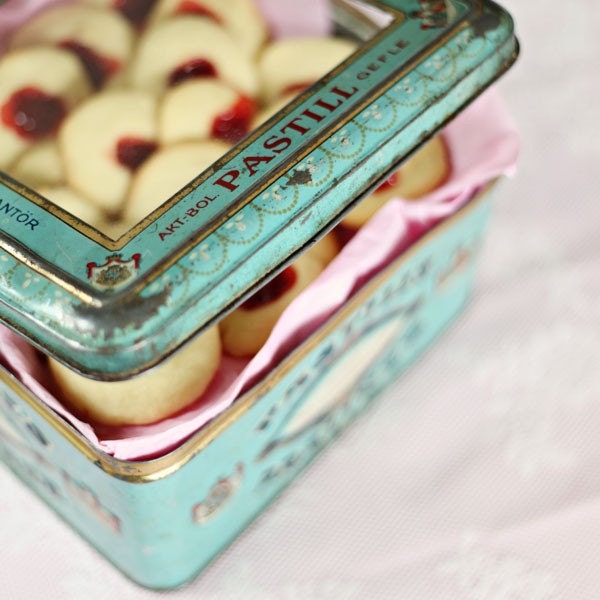
The cookie jar (8x8...
$25.00

Straight Macarons -...
$25.00

Extra Moisturizing ...
$6.00

Guimauve a la Ceris...
$25.00

HELLO LOVE, a sweet...
$23.00

BOGO SALE - Strawbe...
$15.00

Chocolate Sprinkle ...
$19.00

cherry blossom doub...
$3.50

NEW DESIGN Wall dec...
$85.00

Original fine Art P...
$18.00

Fresh 8x8 Fine Art ...
$11.00

Cherries the Luscio...
$15.00

Milk Chocolate Cove...
$16.00

Treasury tool by Red Row Studio.


in case you would like to do the same, here is the link to the page i found with the quick tool to add an etsy treasury to a blog or web page.
here is the treasury if you want to see it all big and beautiful...
Related Posts Plugin for WordPress, Blogger...