

i am so excited to get back to my artful thursday projects. today my tutorial is how to make super easy no-sew embroidered buttons.
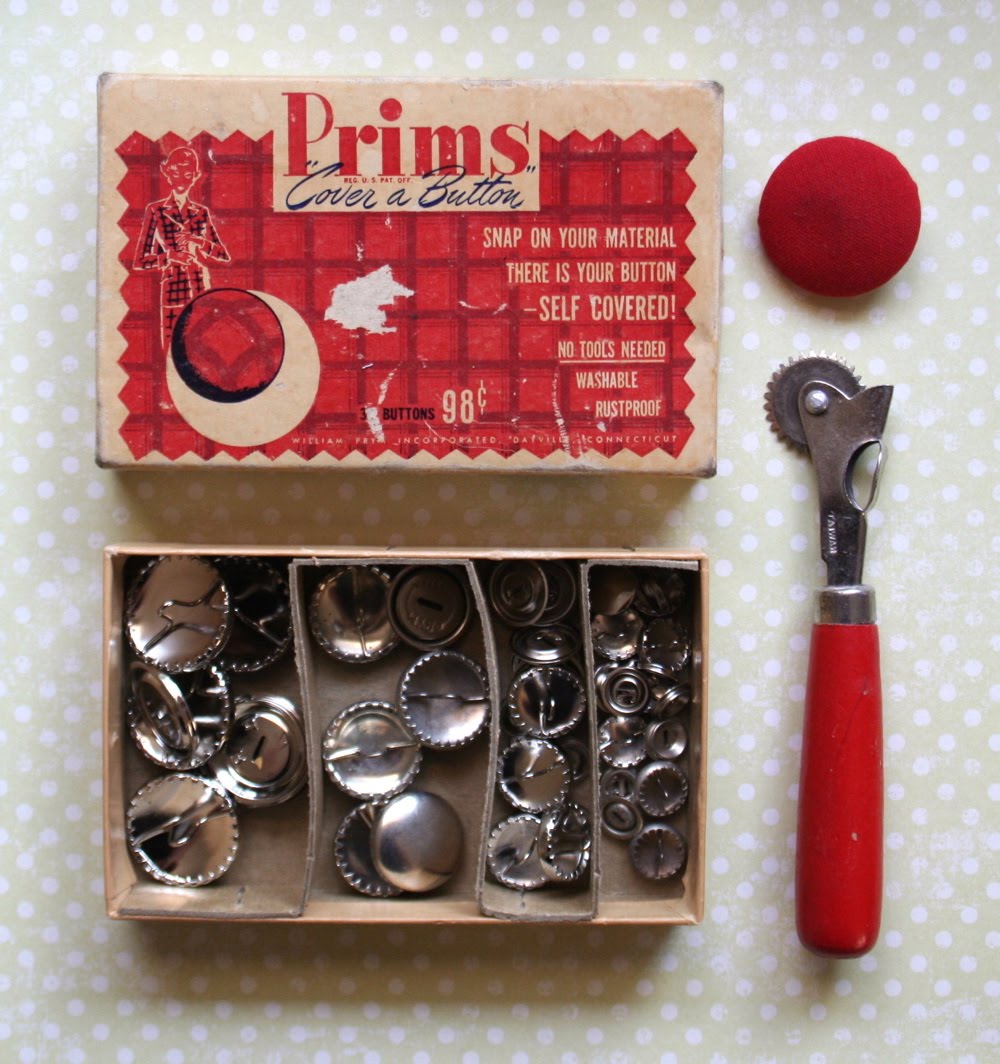 as i was digging through the vintage sewing supplies at one of my regular antique store stops i found this prims, cover a button kit. inside there are four sizes of buttons to cover. apparently they are washable and rustproof. splendid.
it is so easy you don't even need a tool. and just in case you didn't find a little cover a button kit do not fret, i found a similar button kit at joanns.
i like the buttons with the little teeth on the back.

it all started with an old embroidered pillow case. i had cut off the hand crocheted trim to use and couldn't quite discard the little embroidered daisies, so i made a little covered button and liked it so much.

i started looking through my old linens for bits of embroidery i could use.
there it was, the perfect little hankie. stained and torn but with lovely bullion roses and chrysanthemums hand embroidered to the thin cotton.

step 1. wrap your embroidered fabric over the button form to position your design.

step 2. cut out a circle of scrap fabric to test the size then lay your scrap pattern over your embroidery. position, pin, and cut out. my hankie was so thin i used a circle of plain cotton to back the embroidery so the silver button wouldn't show through.

step 3. tuck the circle ends all around the back of the button pulling the fabric taught and positioning your design so you like it.

step 4. place the back over the loop shank and press until the button snaps closed. after the backing is in place you can't take it off and reposition so make sure your edges are smooth and you like how the stitching is centered.
i will never know who stitched this gorgeous piece of embroidery, but i love that i found a way to use it a little bit longer...
happy thursday, julie


